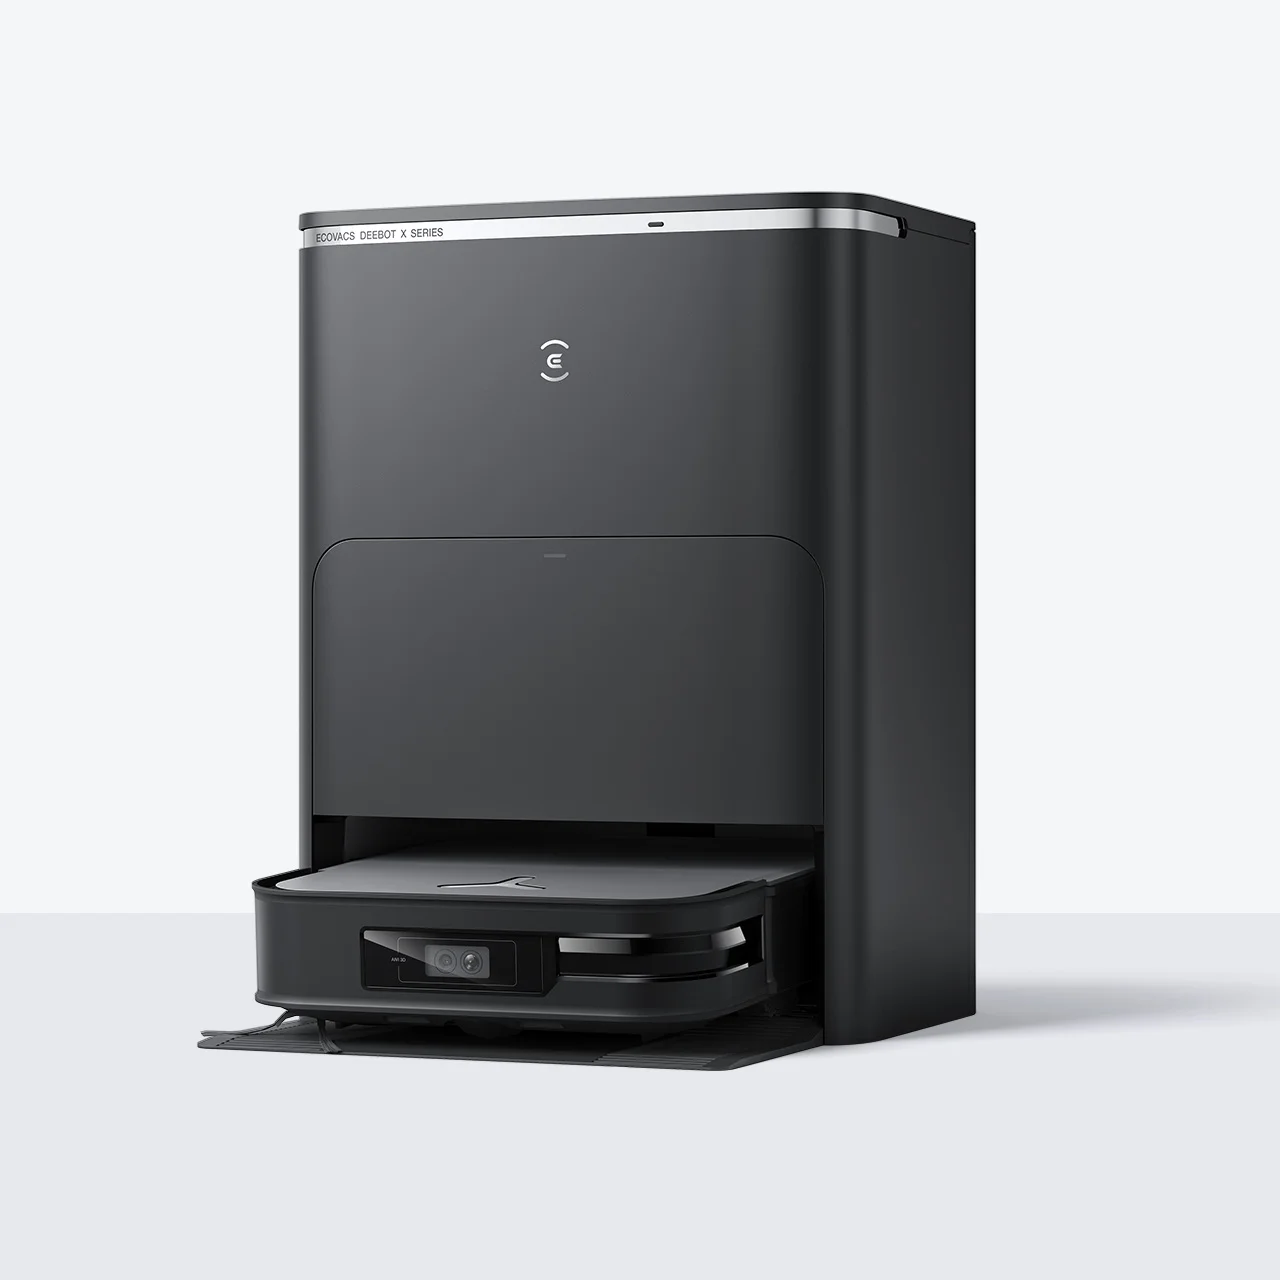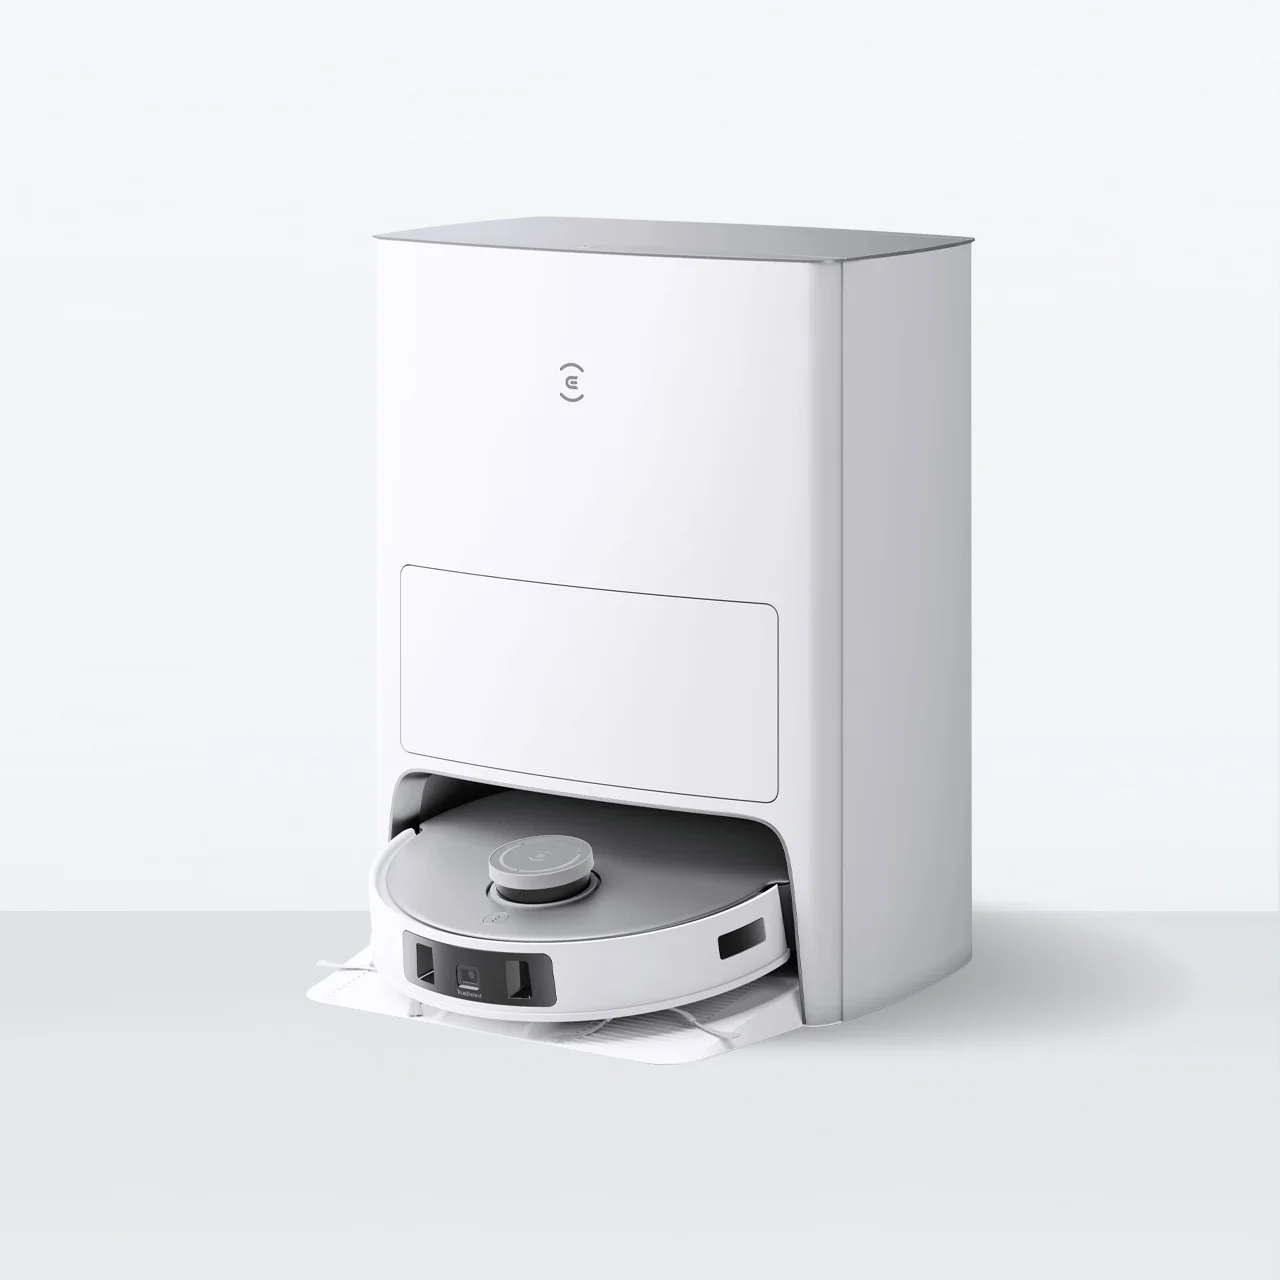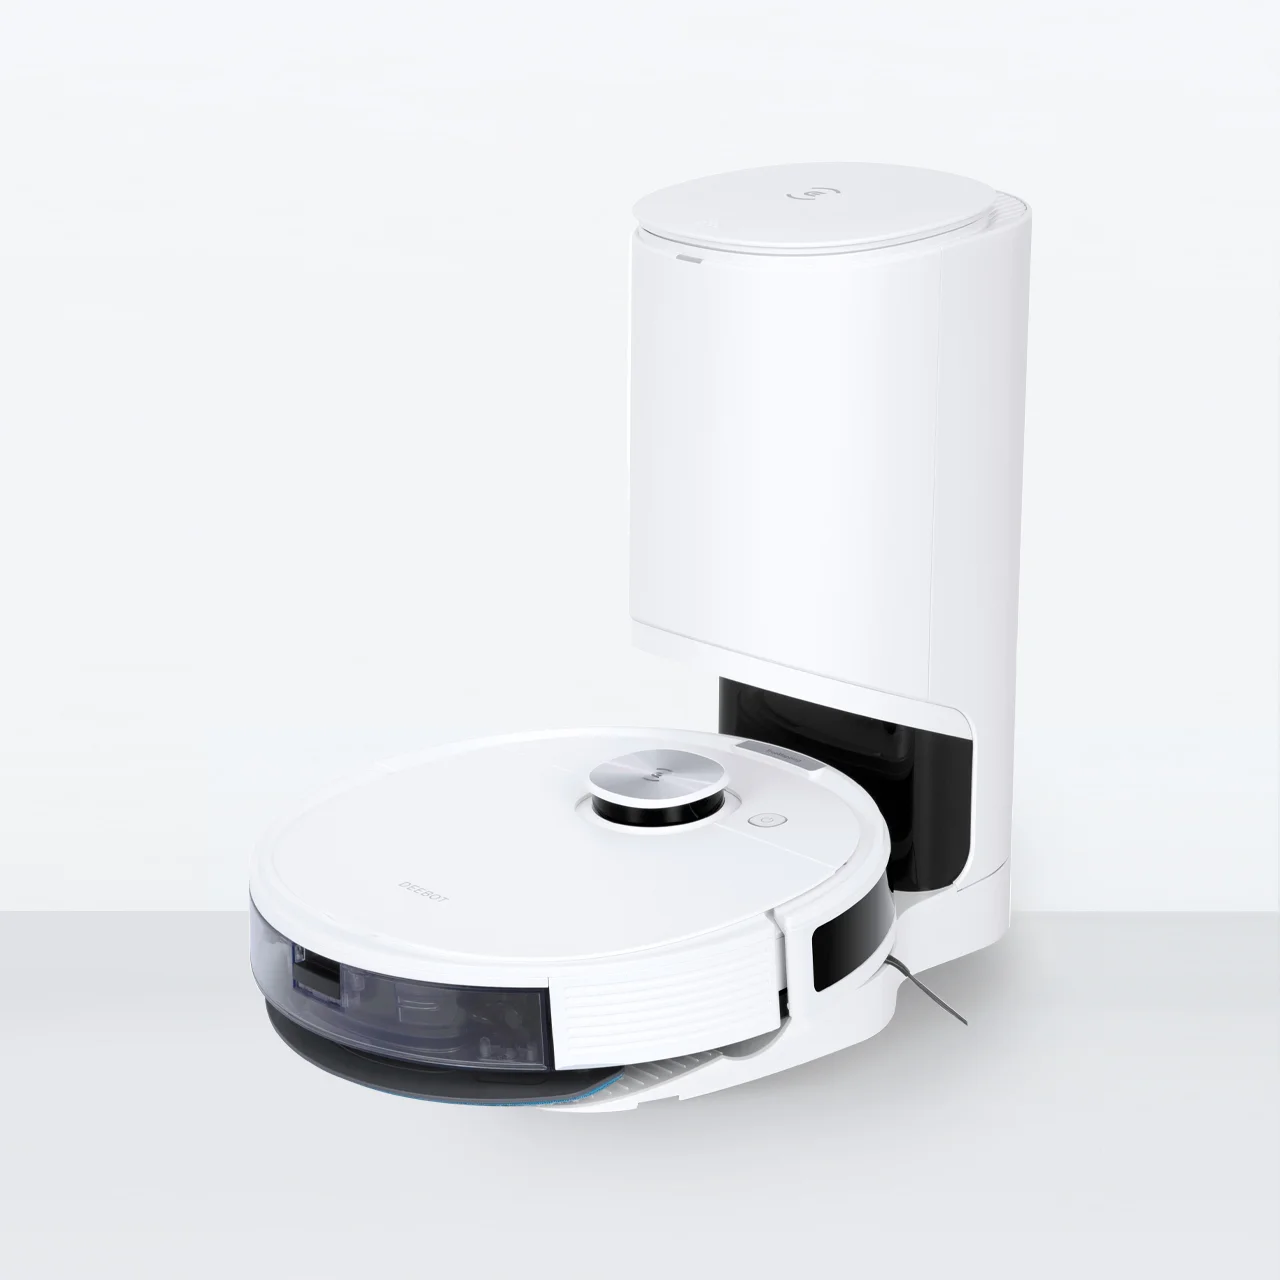
Robot vacuum cleaners are handy devices when it comes to providing users a hands-free housecleaning experience. However, you need to clean your smart vacuum regularly to ensure that it gives you optimal performance. One of the components you need to pay particular attention to during this process is the filter — the part of the appliance that captures and traps dust, dirt, debris, and other airborne particles as air passes through the vacuum cleaner while it cleans your home.
Dirty or clogged filters can lead to reduced cleaning efficiency and potential damage to the vacuum’s motor and other mechanical parts. If a robot vacuum cleaner filter is not cleaned periodically, it can even worsen the indoor air quality of your home, potentially triggering allergies or exacerbating existing allergy symptoms. According to data published by the Allergy and Asthma Foundation of America in 2021, around 81 million people in the US were diagnosed with allergic rhinitis, also known as hay fever — a condition that the organization says can be triggered by coming into contact with airborne allergens commonly found in homes, such as dust mites and pet dander.
Why You Need To Clean Your Robot Vacuum Filter?
Cleaning the robot vacuum filter is essential to ensure optimal performance and longevity of your appliance. This simple yet essential maintenance task can prevent malfunctions in the device, improve the air quality of your home, and stop unpleasant odors from developing in your environment.
Clogged or dirty filters can impede the functioning of a smart vacuum in several ways. They can negatively impact the performance of the machine, leading to incomplete cleaning or the need for repeated passes over the same area. A blocked filter forces the vacuum motor to work harder, which can lead to overheating and premature wear and tear, and potentially cause malfunctions or even permanent damage.
Robotic vacuum cleaners can lose suction if they have clogged filters as they restrict the airflow through the appliance, which can lead to other issues, such as the smart vacuum brushes not spinning. In addition, blocked filters can’t effectively dust, allergens, and other particles during the cleaning process, resulting in these pollutants being released back into the air as the robotic vacuum operates. Dust, dirt, and debris building up on the filter may create odour-causing particles, which can make your home smell unpleasant.
How To Clean Robot Vacuum Filter?
Cleaning your robot vacuum filter is a straightforward process. Here’s a guide on how to do it, which would apply to most models and manufacturers:
● Turn off the vacuum: Make sure the device is powered off and unplugged from the charging dock to prevent any accidents while cleaning.
● Locate the filter: The filter of a smart vacuum is usually located inside its dust bin or dust canister. Look up the user manual if you’re uncertain where the filter is located.
● Remove the filter: You may need to open a latch or remove a cover to access the filter, depending on the model of your appliance. Once you’ve found it, carefully remove the filter from the device.
● Shake off loose debris: Hold the filter over a trash can and gently shake it to dislodge any loose dirt, dust, or debris. This will help remove the bigger particles before you wash the filter.
● Wash the filter: Rinse the filter under lukewarm running water. Avoid using hot water, as it may damage the filter. Use your hands to gently rub the filter to remove stubborn dirt or debris. Use a soft-bristled brush to dislodge large particles.
● Dry the filter: Once the filter is clean, shake off any excess water and allow it to air dry. Ensure the filter is completely dry before reinserting it into the vacuum to prevent mold or mildew growth.
● Reinsert the filter: Once the filter is dry, carefully place it back into the dust bin or dust container of the robot vacuum. Ensure it is properly seated and securely in place.
● Turn on the vacuum: After reinserting the filter, power on the robot vacuum and perform a test run to check that everything is working correctly.

It’s very simple to clean the filter of an ECOVACS DEEBOT. First, remove the robot’s top cover and take out the dust bin, then remove the filter element assembly from it. Clean the dust from the primary filter, and pay attention to both the inside and outside of this component. Tap the filter element assembly lightly to clean out the dust, or use a specialised tool that comes with your appliance to do this. Then reinstall the filter elements and insert them back into the robot.
ECOVACS recommends cleaning the filter with water every two weeks. Do this by holding it under running water to rinse it out. If your robot vacuum has a HEPA filter, do not use your finger or brush to clean it. Once the filter is cleaned, leave it in a ventilated area to dry completely. Then insert it back into the dust bin.
How Often To Clean Your Robot Vacuum Filter?
Depending on usage, it’s advisable to clean the filter of your robot vacuum cleaner at least once a month or as directed by the manufacturer. It’s generally recommended to clear your robot vacuum once a week. However, you may need to clean the filter more frequently than that if you have a large home, use your smart vacuum to clean your hardwood floors more than once a week, need to clean pet hair, or live in a dusty environment.
There will be a point when the filter in your automatic vacuum will get worn out and need to be replaced. If you own an ECOVACS DEEBOT, you can check the replacement cycle of the filter on the ECOVACS HOME App. All you need to do is go to the ‘Settings’ feature and tap on ‘Accessories’. Then check the filter status, which will tell you how many hours the filter has been used for and how much time is left before you need to change it for a new one. It’s recommended that users replace ECOVACS DEEBOT filters after every 120 hours of cleaning or less.
How To Fix Common Cleaning Problems with Robot Vacuum Filters?
While cleaning the filter of your self-cleaning vacuum, you may find that the component is stained, damaged or worn out, showing signs of mildew, or has a persistent odor. Here’s how you can resolve these common problems:
● Tough stains or residue: Use a mild detergent or soap and gently scrub the affected areas with a soft-bristled brush or sponge. Rinse the filter thoroughly with water and let it dry completely before reinserting it into the vacuum.
● Filter damage: Replace your filter if it has tears, holes, or other damage. Check the manufacturer’s instructions for your vacuum model to see if replacement filters are available and how to install them properly.
● Persistent odors: Soak the filter in a solution of water and vinegar or baking soda for several hours or overnight. Then rinse it well with water and ensure it dries completely before placing it back inside the device.
● Excessive wear and tear: Replace the filter if you see that it’s frayed or the material is thinning. Follow the manufacturer’s advice for your specific model.
● Improper drying: Placing a damp filter in your robotic vacuum can lead to mold or mildew growth. To ensure the filter dries thoroughly, use a hairdryer on a low, cool setting or place it in a well-ventilated area for a few hours.
If you continue to face issues, follow the guide for troubleshooting and fixing problems specific to the manufacturer and model of your vacuum cleaner.

FAQ
How do I know if my robot vacuum filter is washable or disposable?
You should be able to find information about whether your robot vacuum cleaner is washable or disposable in the user manual that came with your device, under the section on maintenance or filter care. If you don’t have the manual or if it doesn’t have details about the filter type, visit the manufacturer’s website, contact their customer support, or check the packaging or labelling of replacement filters for instructions regarding cleaning or disposal.
Is it better to clean or replace a robot vacuum filter?
This depends on factors such as whether the filter is washable or disposable, if it’s damaged, or showing signs of wear and tear, and the manufacturer’s recommendations. Disposable filters need to be replaced when they get clogged or dirty, while the washable variety can be rinsed and reused. It’s generally advised to replace worn-out, soiled, or damaged filters rather than attempt to clean them.
What is the difference between primary filters and HEPA filters in robot vacuums?
The main difference between primary filters and HEPA (High-Efficiency Particulate Air) filters in robot vacuums lies in their filtration efficiency and the size of the particles they can capture. Primary filters mainly capture larger debris to protect the vacuum’s internal components. HEPA filters provide higher levels of filtration by capturing microscopic particles, making them ideal for allergy relief and improving indoor air quality.
Related Products


